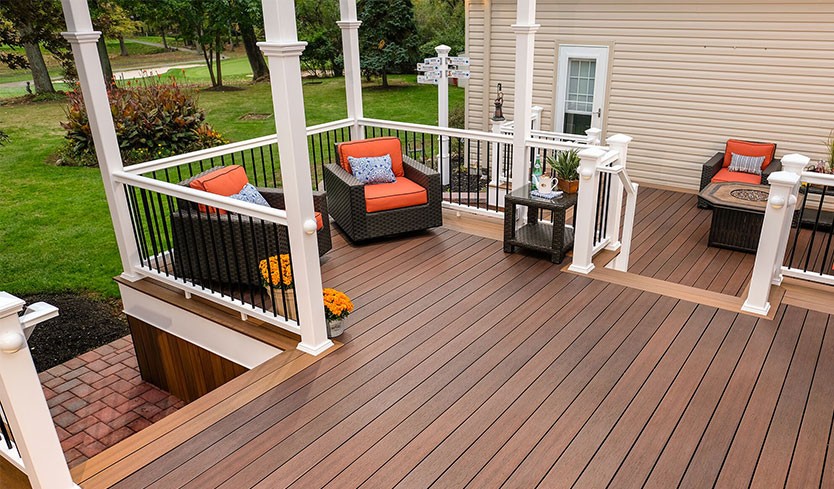
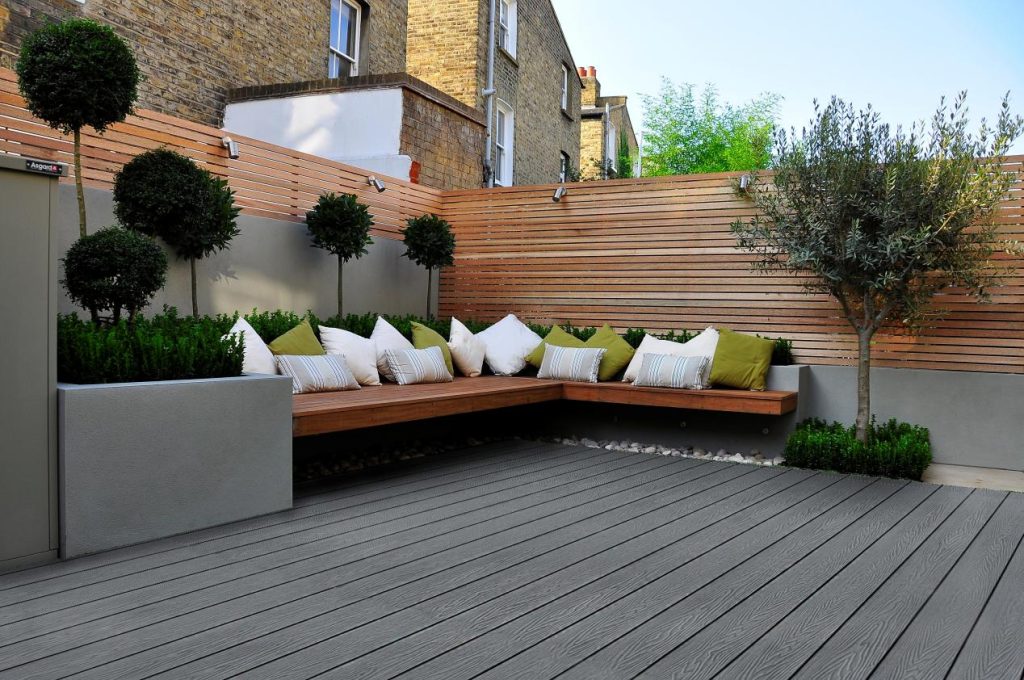
There are many types of wall panels that can be used in any environment, and wood-plastic wall panels are also one of them. Wood-plastic wall panels, also known as wood-plastic wall panels, are widely used because they are not easily deformed, are waterproof, moisture-proof, and insect-proof. So how to install wood-plastic wall panels? The following is the installation method of wood plastic wall panels;
Preparation;
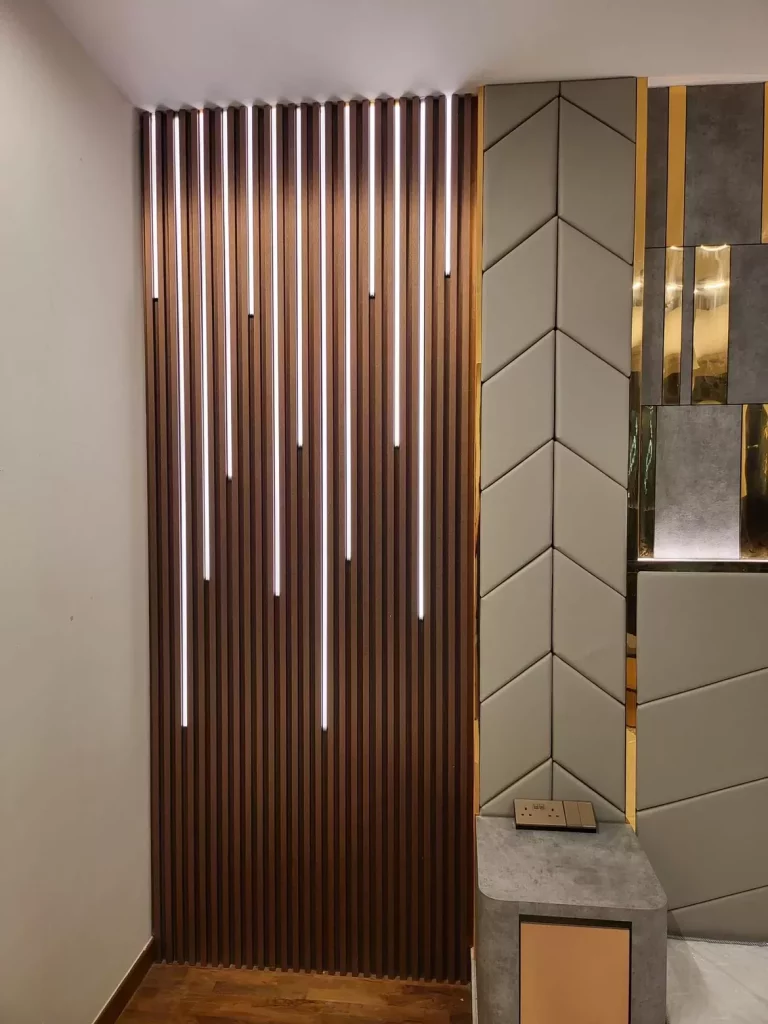
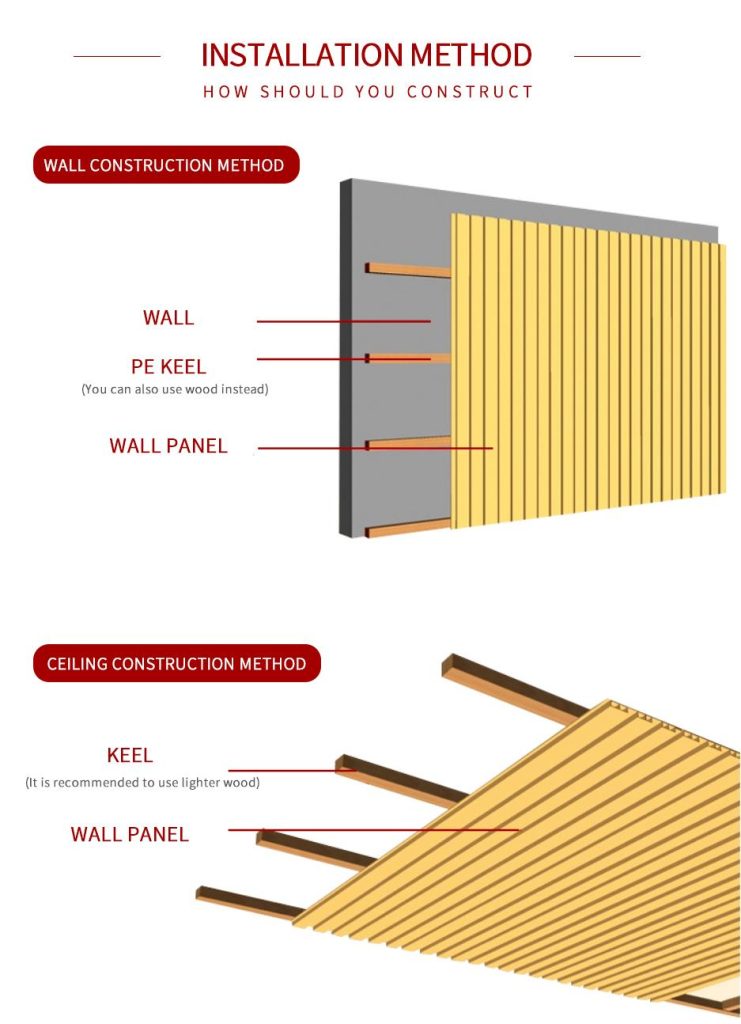
- Inspection: 1) Prepare installation tools, inspect the construction site, plan the installation location, and determine the installation plan.
2) Check the model and size of the wood-plastic wall panels, check whether the surface of the panels is damaged or have obvious scratches, and count all quantities. - Measurement: According to the installation diagram, measure the required dimensions and arrange them (to reduce errors as much as possible), and then mark the corresponding wall.
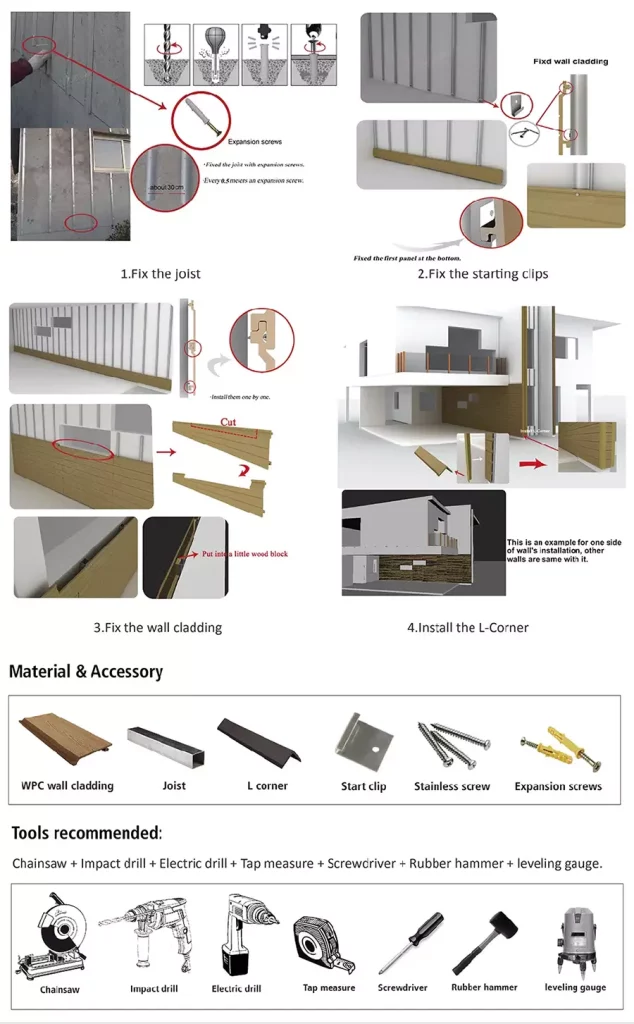
- Installation: 1) Drill holes with an electric drill, paying attention to the depth and spacing of the holes.
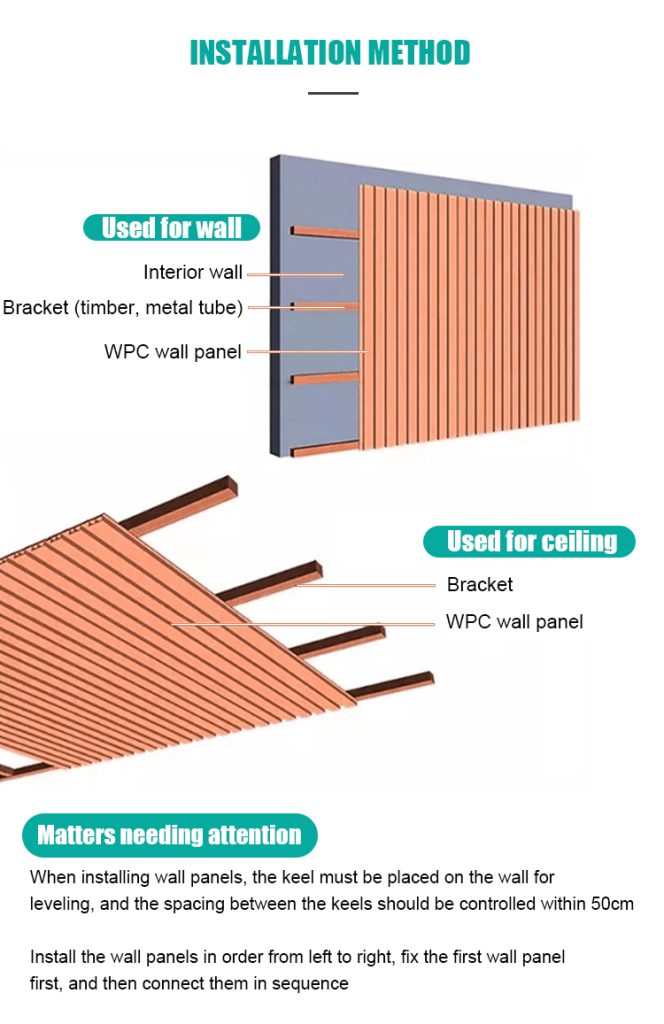
2) When installing the keel, use expansion screws to fix it. At the same time, it needs to be leveled overall. Keep 50-60mm between the expansion screws. The screw surface cannot be higher than the nail cap.
3) After the wood plastic keel is fixed, the surface of the keel and the surface of the wall panel should be consistent, and the distance should not be greater than about 5mm.
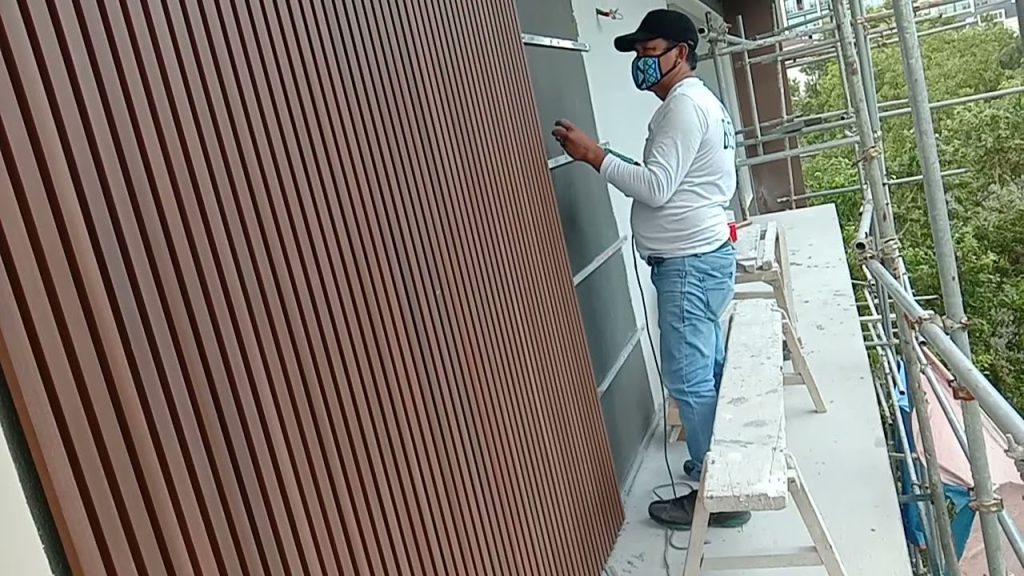
4) From the beginning to the end of laying, use screws to fix the wood-plastic wall panels and keels, check whether they are firmly connected, and pay attention to the firmness.
5) When laying wall panels, check whether the pattern is correct and whether the wall is solid to avoid problems. If there are any problems, correct them in time.

